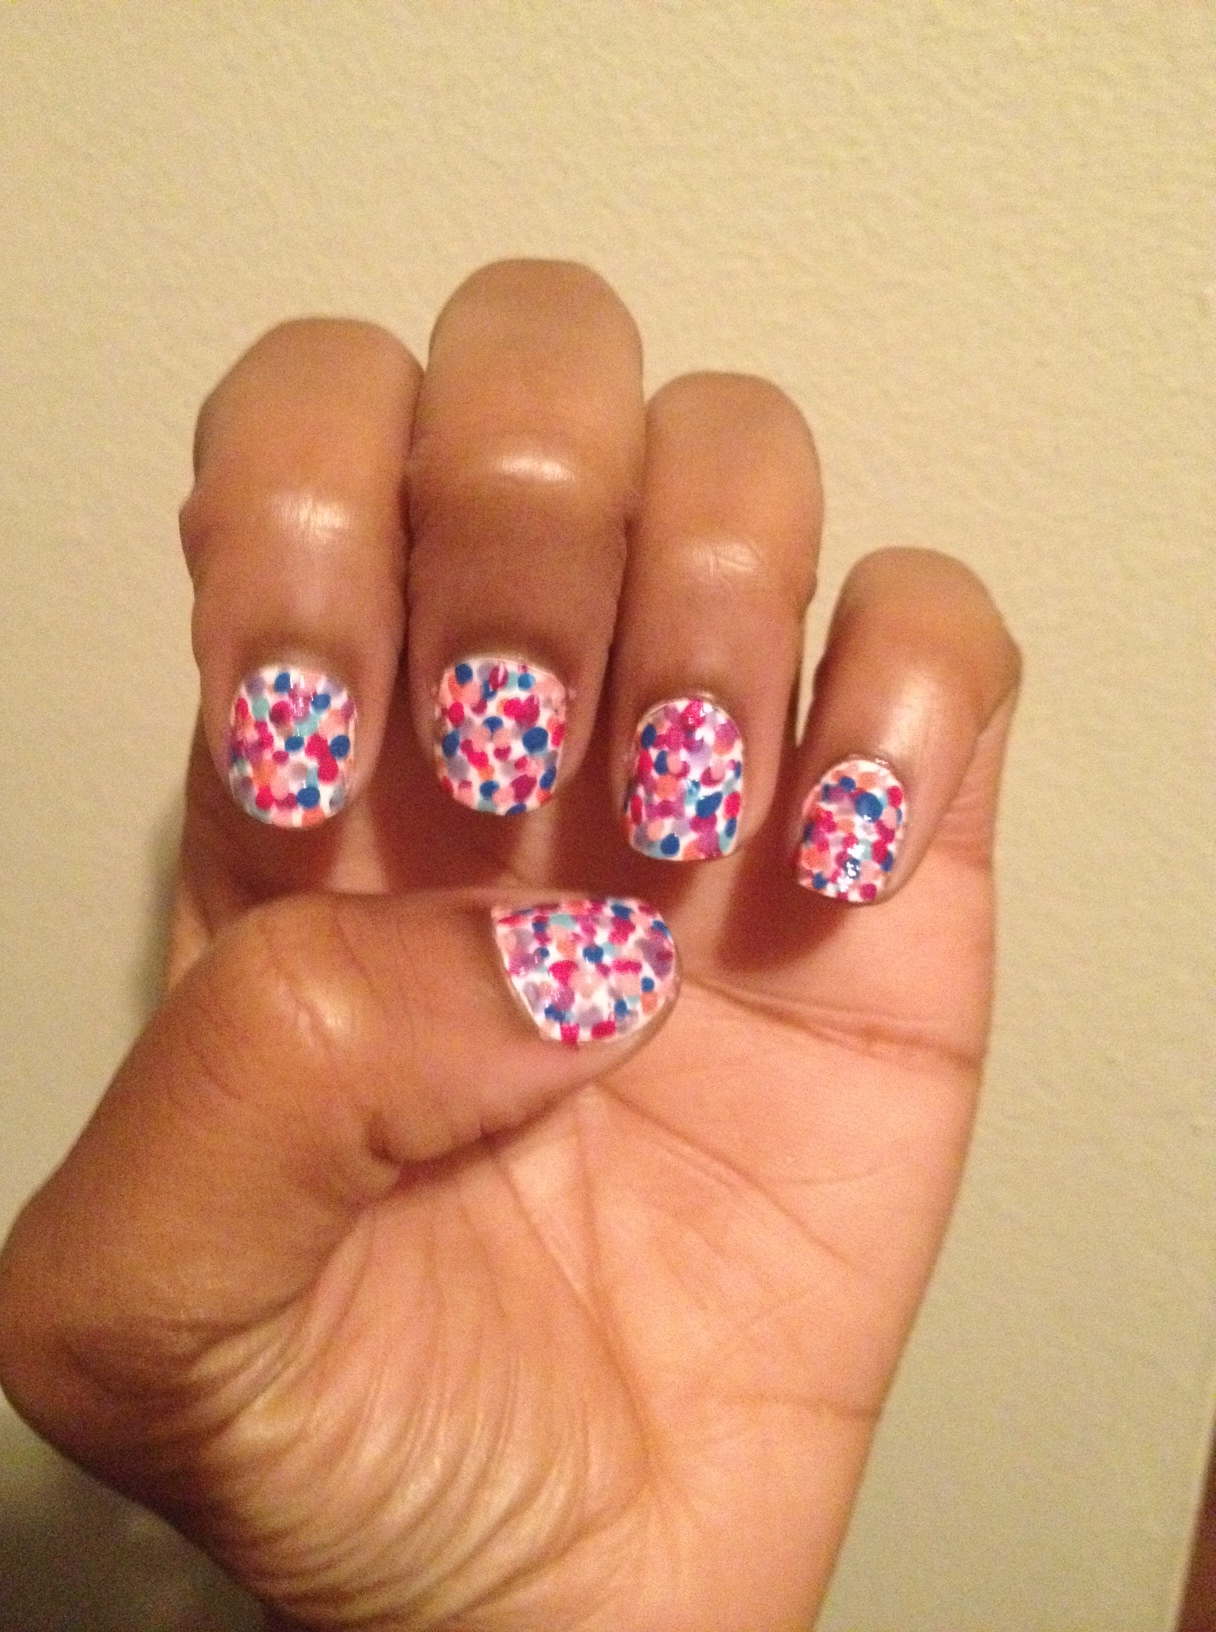
Have you ever seen a piece of art or maybe even a picture and been inspired to create something unique to your style from it? That’s exactly what recently happened to me. I’ve been making it my duty to explore more art and to really let my surroundings speak to me. In one of my random Google searches I came across an abstract painting using dots by Laura Savi and thought the design would look really cool on my nails.
I’ve never been big on nail designs until, lately and I’ve always liked looking at edgy sketches and images on the nails of others. I just never thought I could create anything halfway decent on my own nails! Luckily, the dots motif is easy for anyone!
Here’s how I got the look:
Tools: White nail polish, toothpick, a paper plate tons of colorful nail polish
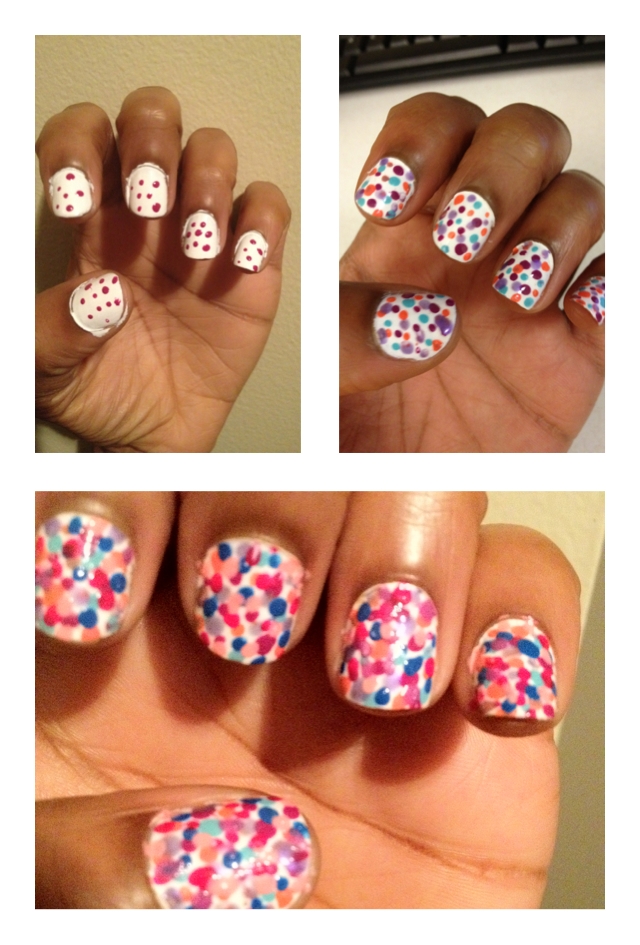
1. Start by applying two coats of white nail polish on all 10 nails. Let them dry completely.
2. Add a couple of drops of nail polish to the paper plate ( You don’t need a lot. I used one color at a time, so I wouldn’t waste product.)
3. Next, dip your toothpick into the color and dot your nails with the nail polish
4. Repeat until you’ve added every color of polish that you would like. Don’t be afraid of overlapping colors, or creating different-sized dots. Go as crazy as you want. I found that the more I covered up the white base coat, the better the design came out.
5. Now, add a top coat and let dry.
6. Next, repeat steps 2-5 on the opposite hand, and you’ll have your very own abstract nail art look using dots!
What do you think of this design? Is it something that you’d try?
Ciao Bellas,


I too love a good manicure. The no-fail way to make it last lonegr is toapply it with top coat every day or at least every other day. You’ll besurprised how much lonegr your mani lasts.Sincerely,Mich (Fashionista from Chicago).